Tuesday, October 12, 2010

Mike Mudd Memorial Tournament Report!

Hey everyone,

Just last weekend we held the 2nd annual Mike Mudd Memorial Tournament, in honour of a friend of ours who sadly passed away about 2 years ago. He was a great fan of our hobby, and played not only to win, but to have the best time he could; from this we spawned the MMMT, to provide a fun weekend of gaming, and raise money for a charity chosen by Mike's parents (The OSPCA this year.)

Overall we managed to raise just over $1,200, through entry fees, a raffle (which we had running for, among other things, a full 2,300 pt Khorne Chaos army), and 20% of the profits from the bring-and-buy table.

The tournament ran to 1850 pts, and lasted 4 rounds; scoring was 56% in favour of Generalship, 35% Sportsmanship, and 9% Painting.

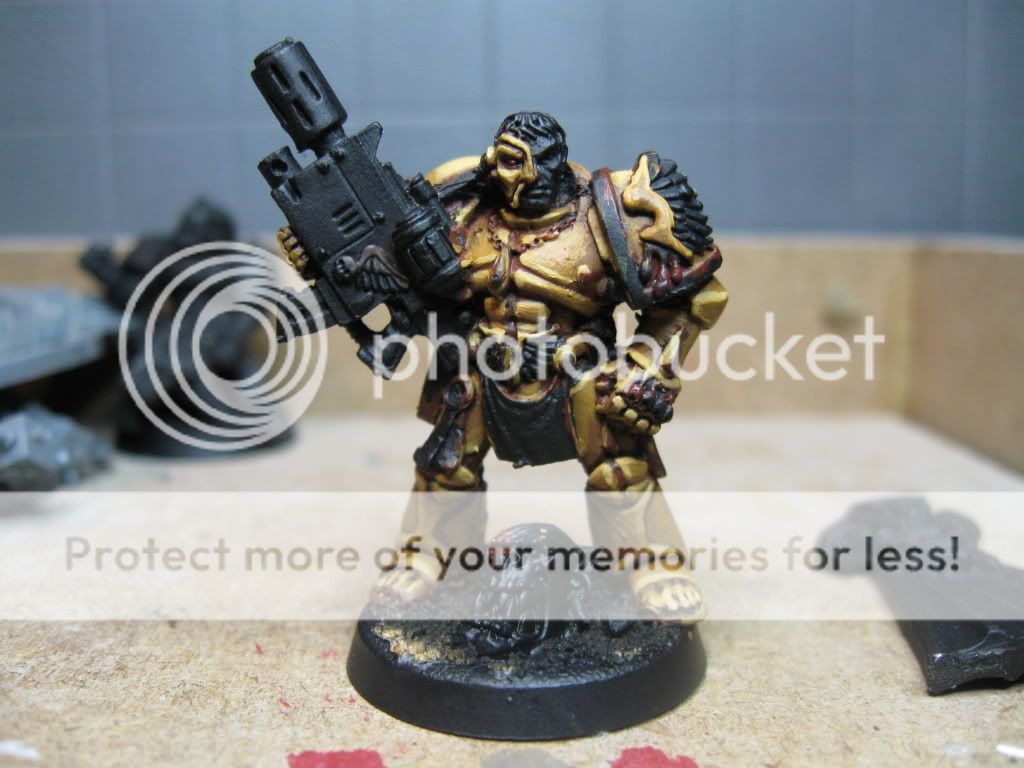
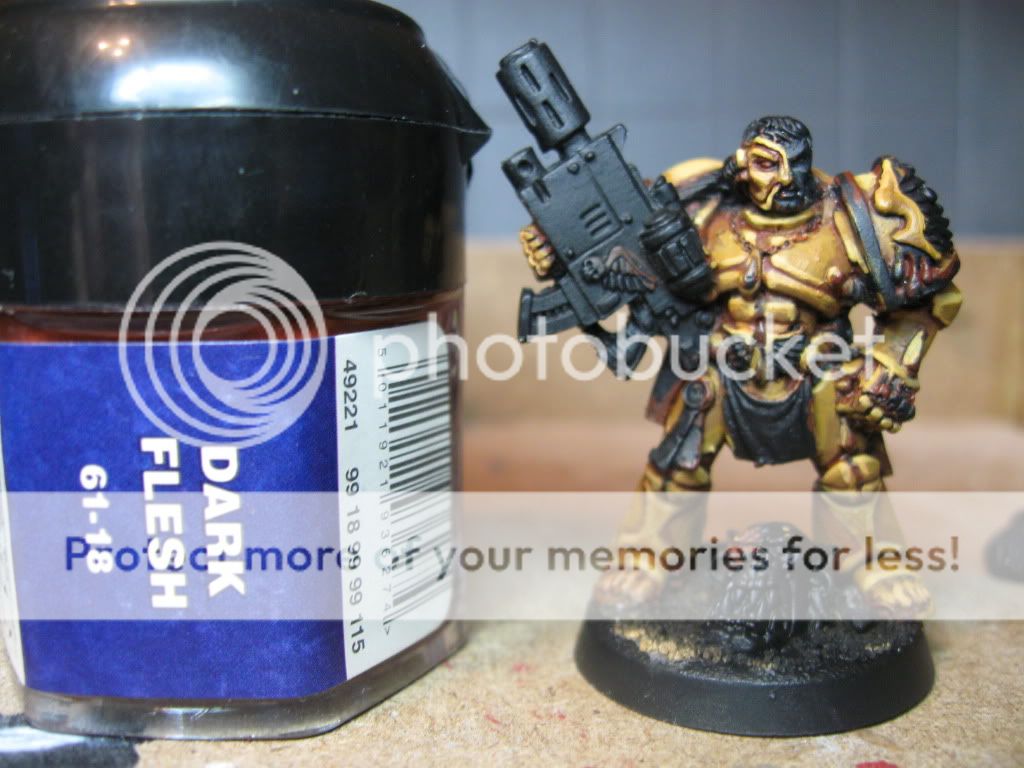
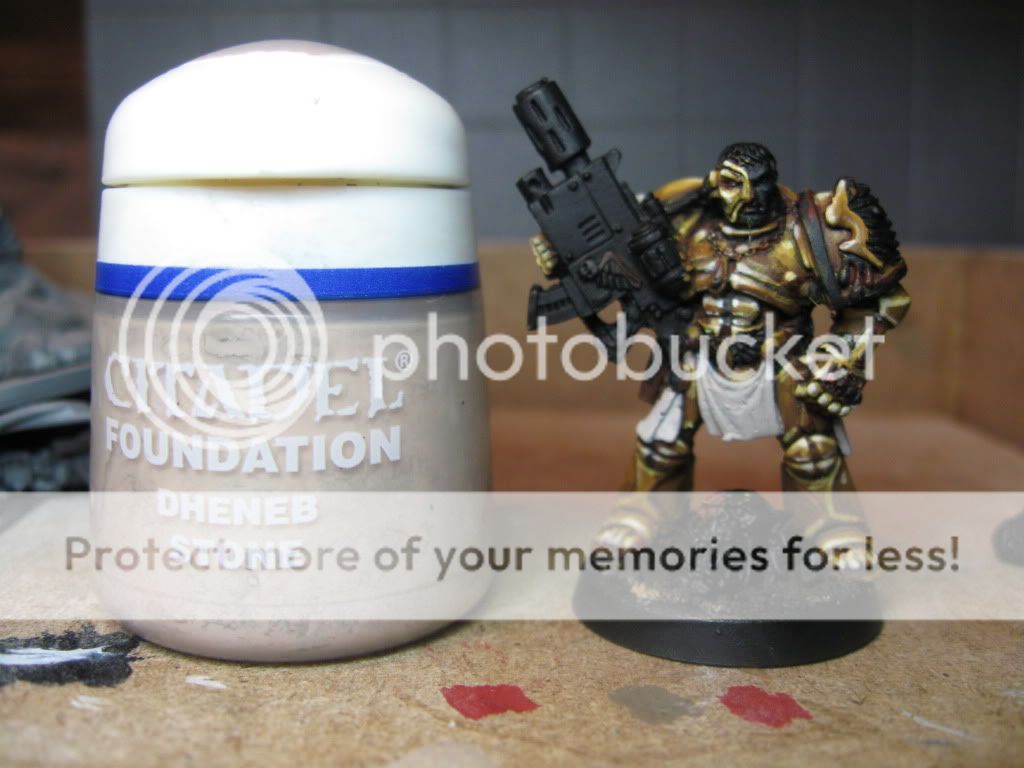
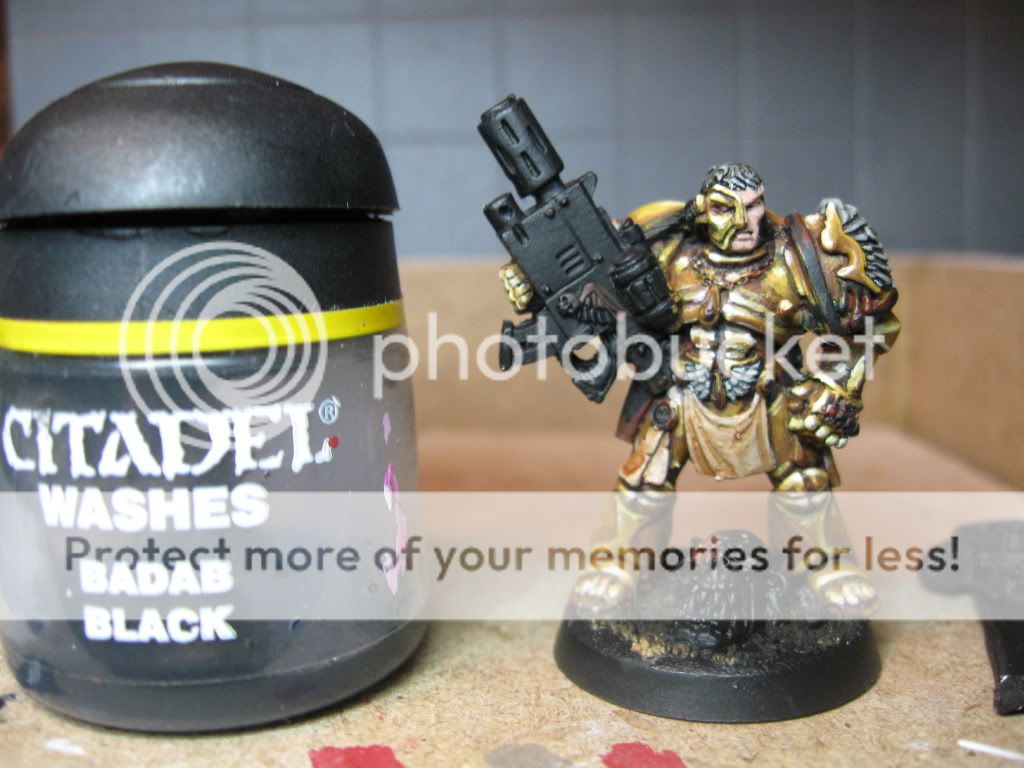
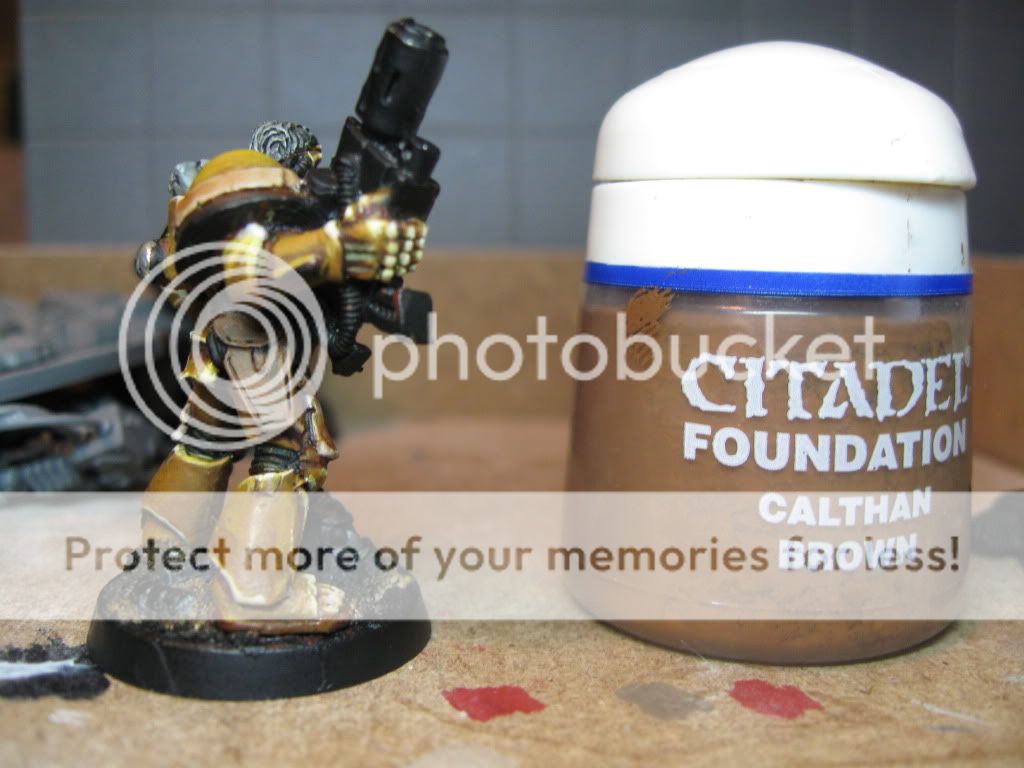
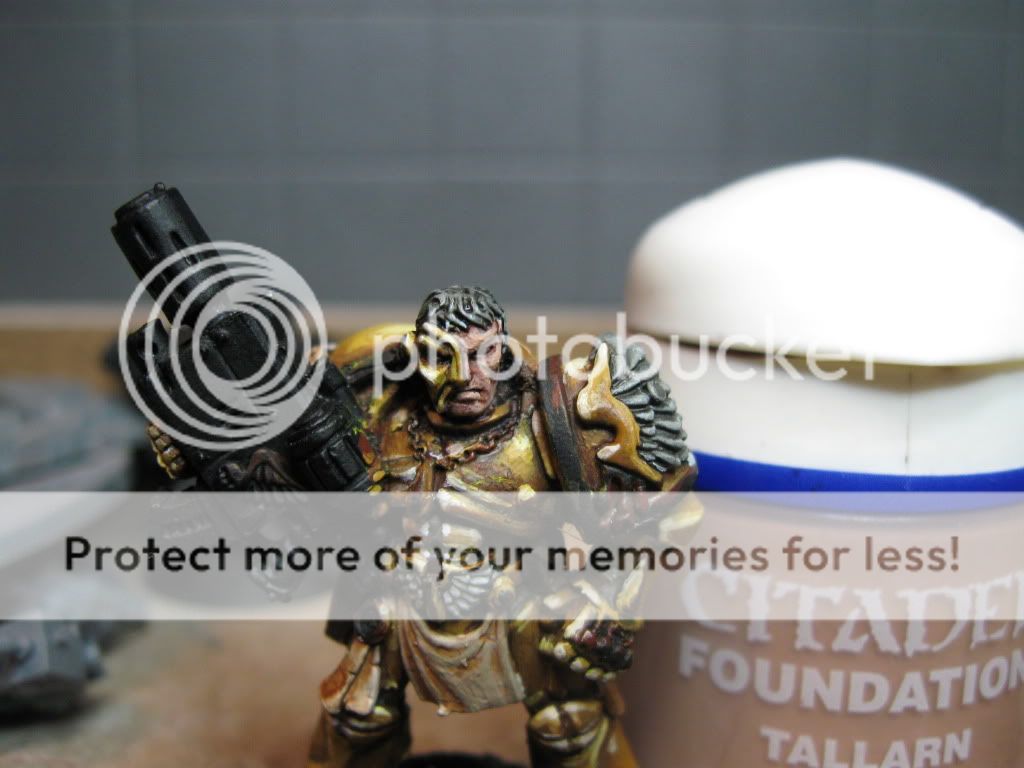
I took the following list (After staying up super late wildly painting, trying to get it all done:

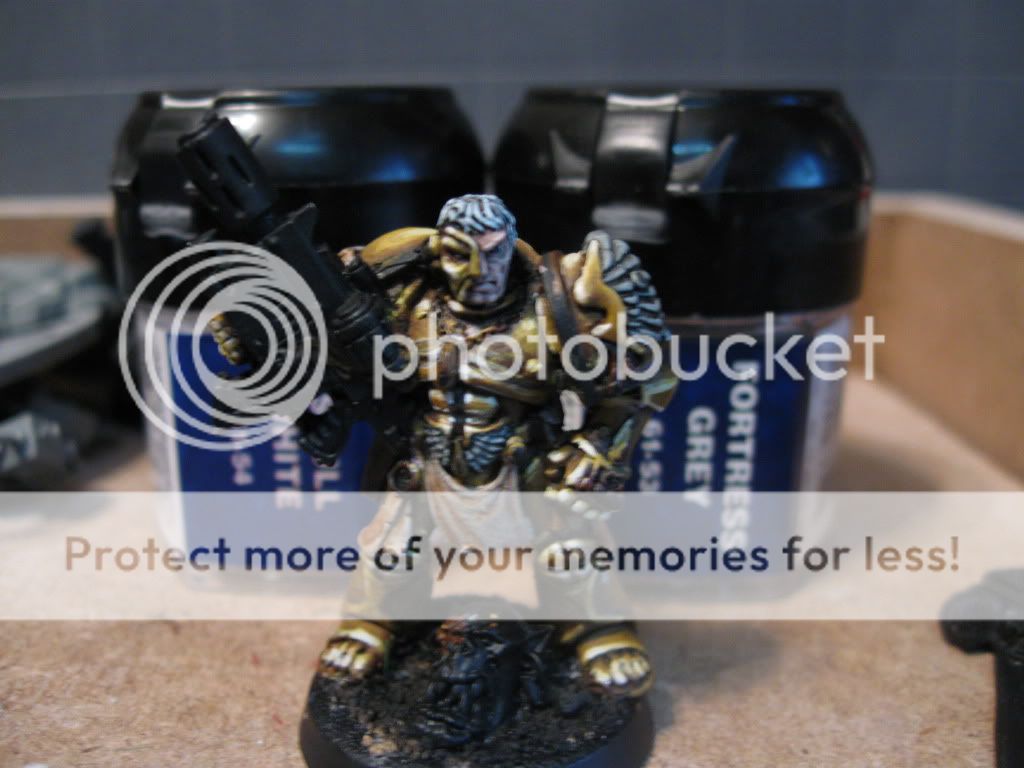
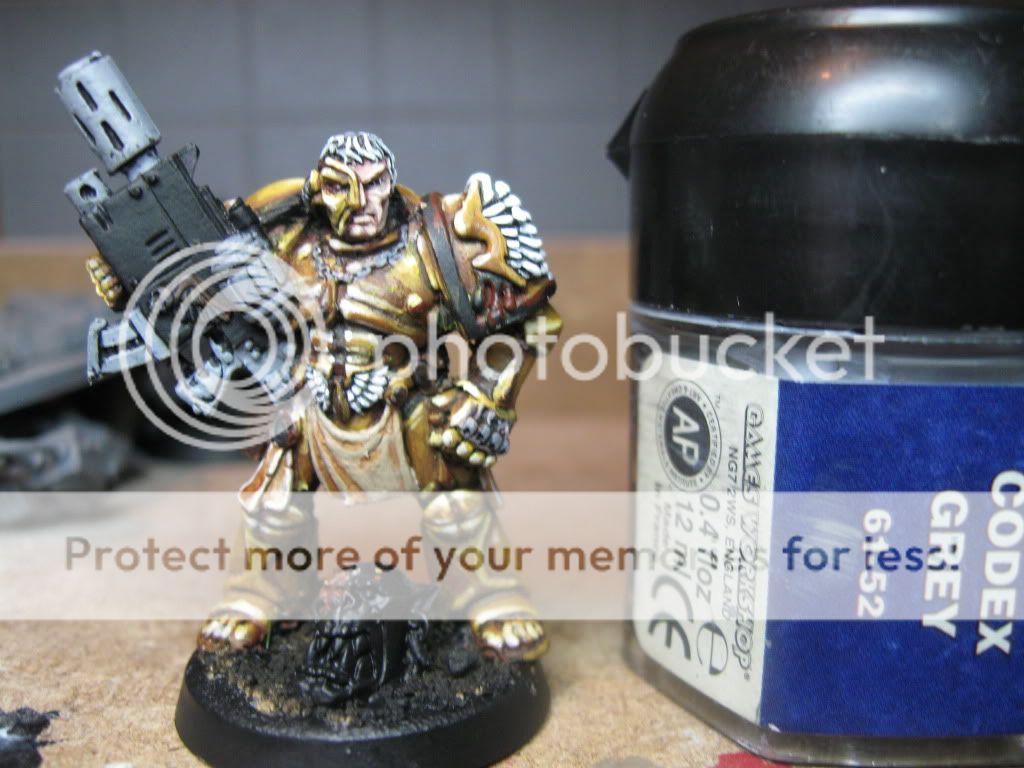
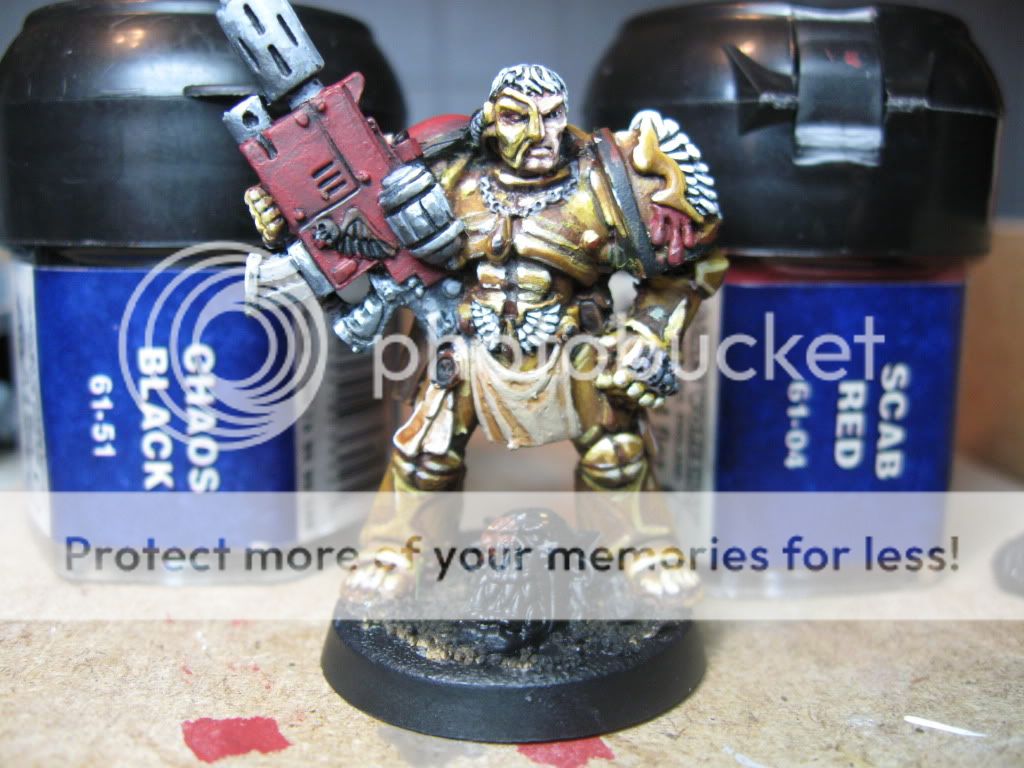
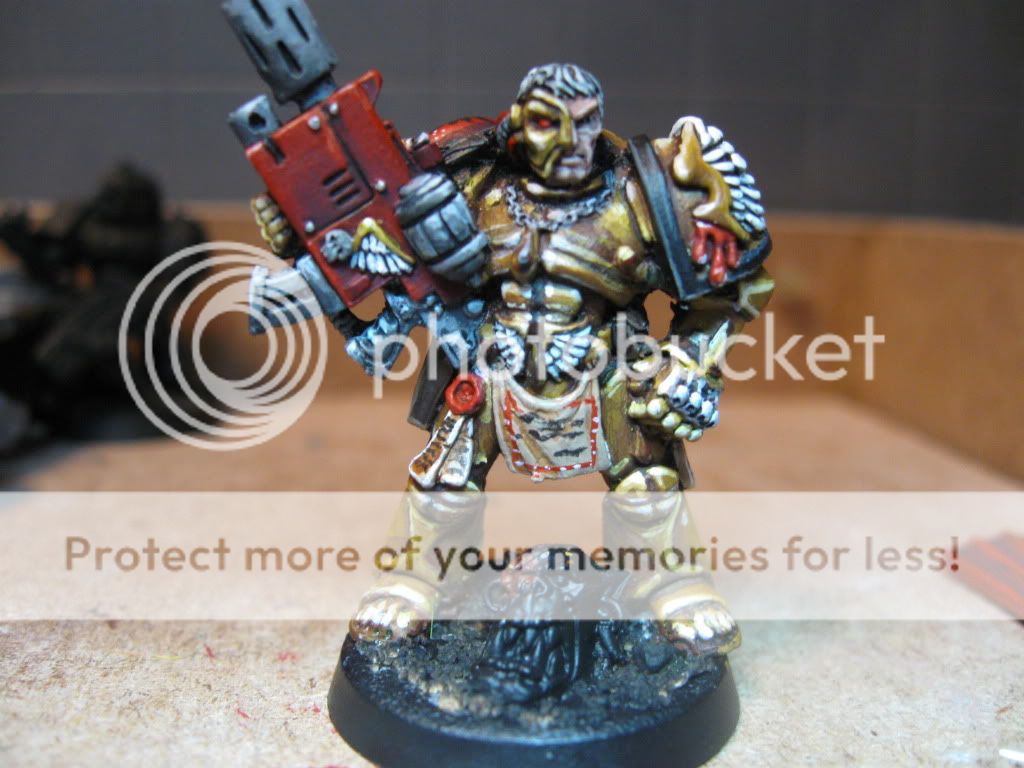
Marneus Calgar - Wearing the Armor of Antilochus
Librarian - Null Zone, The Avenger
Tactical Squad 1 - (Combi-Melta, Melta Bombs, Meltagun, Missile Launcher)
Tactical Squad 2 - (Combi-Flamer, Power Fist, Flamer, Heavy Bolter)
Tactical Squad 3 - (Combi-Plasma, Plasma Gun, Heavy Bolter)
Tactical Squad 4 - (Combi-Melta, Power Fist, Meltagun, Multi-Melta)
Dreadnought - Heavy Flamer/Multimelta
- All in Drop Pods
Assault Terminators (9X Thunderhammer Stormshield, 1 Lightning Claw)


This was a compact list that, in my few test games, was fun as anything to use. I'm used to running an armored spearhead with a pair of Land Raiders, so it was fun to change over to an army that drops my marines in my opponent's cornflakes on turn 1.

So, in brief, we won't be getting pictures this time, seeing as it was a tourney, and I ran out of time on nearly every game. It's a shame though, I should have gotten pictures of my opponent's armies, at least.


Game 1: Dragon Knights VS. Space Wolves


Mission 1 was a primary of Kill points, Standard Deployment, with a secondary called "Blood Bowl". The basic concept was that in the center of the board was a 'ball', and any of your units could grab it and go for a touchdown on the opponent's board edge. If the model carrying the ball was killed, it would scatter 1d6 inches in the direction indicated on a scatter die.

My first opponent of the day (Mike Brennan of the SGU) ran one of the armies I was dreading; a Wolfwing, drop pod force. He had 4 pods loaded with Wolf Guard in Terminator armor, all armed individually, a Dreadnought with assault cannon in a pod, and Logan Grimnar with his Long Fang Retinue, in a pod, with Multimeltas.

So looking at the lists we have here, you can see the problem... Mike Thornhill, another player and member of the Stratford Gaming Union, said it best. With 11 pods on the table, it really was going to come down to who won the roll-off for choice of first turn!

I won that roll-off, however, and allowed my opponent the pleasure of first turn. Deployment was pretty simple; since everything was arriving via pods, he kept everything off the table; My only real choice was whether or not my Terminators would be on the table, or not. I chose to bring them in via Deep Strike, and they remained in reserve all game.

That being said, however, I didn't really need them, as 1450pts of my army practically wiped out his with extreme prejudice; if we hadn't run out of time on turn 4, I would have had the massacre, as my Terminators (Who landed turn 4 and did absolutely nothing), were in perfect charge range to eat Logan and the Dreadnought (his only remaining models) on turn 5. Ah well... Solid Victory for me!

Highlights: This game had people coming over after their games were done to see what was known as the 'Pod Forest'; at one point we had 9 drop pods on the table, and hadn't bothered to attack any of them!


Game 2: Dragon Knights Vs. Orks


Game two was against Bill Murray (Also of the SGU), playing a massive Kan List; He had 3 Squads of roughly 30 boyz (1 of which was 'Ard Boyz), a Deff Dread, Ghazkhull, a Big Mek (With Kustom Forcefield), and 12 Kans!!

Once again, I won the roll-off for deployment, and gave him 1st turn; the mission was Capture and Control, where we placed out objectives nicely in the EXACT opposite corners from each other. The secondary was, to keep it short, to control 2 cannons that were firing random pie plates across the table, and could hit either side's forces.

Once again, I left the Terminators in reserve, and they didn't even see the board this game; it only made it to turn 3, but we decided they wouldn't make a difference then either (Though they could have, in retrospect; had I deepstruck PERFECTLY, combat squadding them out, I could have contested both of the cannons and pulled a draw, but oh well.)

I dropped behind his army, right on top of his objective, but while in my last game my firepower wiped the board with my opponent, this game they killed a dismal 9 orks in their first turn of shooting (Bad podding on my part; I went after the 'ard boyz with my flamers). It ended with Bill contesting his own objective with a 2 Kan squad, and Ghazzy and his troop Nobz about 5 inches away from his objective; he had the minor, unless I could miraculously destroy the Kan on his objective!

Highlights: My favourite part was the mad scramble at the end; we had 4 minutes to rattle through my turn, so we skipped a lot of movement and assaults to deal with what really mattered; could I kill that kan squad? A missile launcher shot (Fired hail-mary style through 3 pods, past another kan squad, and over the heads of a few raging combats managed to still destroy a kan, despite the cover save. This, however, took my nearby melta-gun squad out of range of that last, forward kan! It then came down to my squads that combo-charged it, whipping 9 krak grenades at the kan, praying at least 1 hit... and all of which missed. That last turn was a nail biter though! Minor Win to my opponent! (Putting me about 2nd to last on the leaderboard for game 3.)


Game 3: Dragon Knights VS. Ultramarines


I wasn't really looking forward to this game, as I'd played this guy before and had a bad time, but I was determined to make the best of it. The scenario was multiple objectives, with the secondary being Moral Victory (Killing units in H2H, or with shooting). I chose H2H, and this time decided to deploy my terminators on the board; a good choice since (But for a little underhanded playing on my opponent's part) they might have gained me the game!

In addition, (Though it had no effect on our game, as we forgot to use it), there was a fluctuating gravity field on the board, which would either allow us to move much faster, or much slower.

Once again, I scored the roll-off, and went 2nd; my pods must have been reeling a little from my defeat at the hands of the orks, however, given how poorly they performed, but I still managed, on turn 4, to be sitting on an objective with two scoring units after having slaughtered an entire tactical squad with Calgar, alone.

Highlights: None. The game was ok up until the last 15 minutes; I found him argumentative, but I put up with it. However, in the last 15 minutes, he became 'that guy' that we all want to avoid. The situation was simple; we were running out of time (I'd have loved another 15 minutes, believe me.), on turn 4. Marneus had charged his last full unit of tactical marines, pulling them forward and off their objective. On the other hand, 5 terminators had just moved to within 3 inches of the one objective I controlled, contesting it.

So this meant I was looking at another minor loss, unless I could do the same to those terminators that Calgar had done to the tactical squad. So I charged them, and this is where the hammer dropped (About 10 minutes left at this point). First, my opponent claims my Terminators are outside of charge range, so I'm forced to move them back into coherency and re-measure (They were EASILY in, by about 3/4ths of an inch).

Then, seeing that didn't work, he claims that I have to roll for difficult terrain. These Terminators were partially in terrain, but the models I was set up to charge had their bases outside of it; I didn't have to cross or enter difficult terrain to reach them. Now note, I had moved my Termi's fairly; I had even charged his 2 man tactical squad with the back few guys, rather than trying to cheat them around to the main target. So he wastes another 5 minutes, even calling over a judge (Who ALSO sided with me).

Then, just as I'm preparing to roll my attacks, the TO comes in and calls dice down, rounds over. After speaking with them later, I should have insisted on finishing the combat, as the outcome required my 6 terminators to only kill 1 of my enemy's, thereby claiming my objective with a Major Victory for me. Ah well; I suppose I should thank him; his underhandedness DID lead to my 4th game, which was the best I had that day.


Game 4: Dragon Knights VS. Orks - Redux!


So, for my final game, I played another ork player, and I'd just like to state for the record that I was fuming from my past game when I started. That changed radically once this game began, however, as my opponent was an absolute blast to play against. In addition, this was the only game that made it to the 5th turn.

He'd brought 2X units of boyz, 1 shoota 1 choppa, 30 Lootaz in 2 units, Ghazzy and nobz with painboy, and mega-armored nobz with painboy. The mission was Dawn of War, multiple objectives again, but this time the secondary was victory points, scored as usual. However, the scoring units were modified, with Troops counting as 3 units controlling an objective, Elites were two, etc...

In reality though, the mission mattered little in this powerful slugga fest! As usual, turn 1 my opponent ran around, taking objectives, and then my pods rained down on him, slaughtering one unit of lootaz, and putting a giant dent in his boyz. Turn battle raged back and forth like mad, however; My dreadnought blew up a battlewagon, and Ghazzy tore it apart. 1 unit of tac marines slaughtered those lootaz, and were in turn spanked by the meganobz. Once again, My Terminators walked on the board 1st turn, to avoid the curse of the 1st two games, and saved Calgar from his desperate gambit against a full 30 boy mob (Alone!)

Highlights: While game three was a pain to play, and I didn't enjoy my opponent's attitude, Game 4 was a blast from start to finish. My opponent was loud and boisterous, enjoying the sight of orks flying everywhere just as much as marines. We had a few great points, however, such as Calgar calling down the thunder in the form of an Orbital Bombardment on Ghazzy and his nobs, wounding all but one and slaying all but the warboss and his nob.

Another point of interest was the running battle of attrition between the choppa boyz and my poor combat squadded tactical squad. They were charged, and should have vanished under a sea of greenskin bodies, however they only lost a single marine. They killed 6 orks back, but the TRUE highlight was when the nob attacked their pod, plowing it up in a 6 inch template, and wounding 19 orks, which caused 13 bodies to hit the floor.

Calgar and his Terminators lashed out at Ghazzy and the meganobz, slaying the nobz to a man, and laying the warboss low after he reaped an impressive toll himself, and then they slammed into that wild combat, which had lasted 3 turns! This turned out to end the game, in a massacre result for me, given all that was left was a Big mek, and a Loota squad on his side, both out of position to score on those objectives.

Final Thoughts:

The 2nd annual MMMT was a fun time, barring the 1 sour note, and I will be attending again next year. My only suggestion, despite it being 4 rounds, would be to extend round times to 2.5 hours, with early start-times if everyone finishes ahead of time; I found it very hard to get 5 turns in over the course of two hours, especially given that we only had 10 minutes per player to resolve a turn.

Until next time, I'm out!

Wednesday, September 29, 2010

Step-by-Step Painting: Captain Tycho!


Hey there everyone,

This time around we're hitting another step by step painting tutorial following my latest attempt to increase my abilities. I painted Captain Tycho for a friend of mine, as a way of trying my hand at Non Metallic Metals for the first time. I used Games Workshop's article on painting the Sanguinor, and modified it for my purposes.

While the crazed Captain didn't turn out as well as the amazing Eavy Metal effort, I'm very pleased with how he turned out for my first shot at NMM. For those that have never tried it before, Non-Metallic Metals is a painting technique that uses multiple blends of flat based colours to give the false impression of a metallic sheen. It's a VERY difficult technique (As evidenced by the fact that I had to restart 3x while painting Tycho), and is practically a Golden Demon requirement.

So let's get started! I'll be detailing with pictures the work to get him done in NMM, with tips for if you choose not to follow that technique and use metallic paints instead. Obviously we start with a primed mini, and then we launch straight into the job! Note, I've kept the backpack separate from the main mini, to help with getting to the rest of the model; don't forget to paint the backpack gold as well!

Step 1: Basecoat the model with Dark Flesh on any section that you want to come out gold. (In my case, the backpack, armour, and face mask). Through this tutorial you might see Tycho's Right shoulder pad slowly painted gold; don't do this. I kicked myself after getting a great look on it and it turned out I had to paint it red.


Step 2: Next, you want to apply a 1:1 mix of Calthan Brown and Snakebite Leather to the armor, ensuring that you allow the Dark Flesh to show through in the cracks; wherever there is a raised area, on the lowered section immediately next to it, you want to leave the flesh tone.


Step 3: Next you want to take pure Snakebite Leather and add a drop of bleached bone to it. You want to apply it wherever the light would be brightest on the model, depending on the location of the light source. For my first try, I set a lamp directly over Tycho's head, and wherever it looked brightest, applied a thin coat.


Step 4: This is simply a repeat of the last step, multiple times. Add a drop, mix it, and then re-apply towards the brightest light source. Depending on how smooth a transition you want to get, you will re-do this several times until it's nearly a 1:1 mix. Every time you add that drop of paint, too, make sure you highlight with thinner lines, allowing your previous efforts to show through. My example here is after roughly 4 more coats.


Step 5: (Well not really 5, but for sake of argument)Next you want to water down some Dark Flesh and wash the entire model. No, what are you saying Dragon Knight?! It looks terrible! That's fine, it's to draw back on those highlights a bit and blend it together more.


Step 6: Now we want to mix a 1:1 mix of Chaos Black and Dark Flesh... and wash it again! Now the model looks even worse, but if it was a light enough wash, it'll do what we need it to.


Step 7: Okay, okay, back to making this look good. Remember where you were applying those Snakebite/Bone highlights? Take some thinned down bleached bone and apply a THIN line of it wherever those highlights were made. I overdid it a little and had to go back, but you get the idea.


Step 8: Now take some Skull White, and apply a dot of it to the highest, brightest points on the model. In addition, you want to apply some thinned down white in a reflection line to the plates on his upper chest, to give the illusion of reflection.


Step 9: Our next step is to make this actually look like gold, instead of well highlighted brown. Take heavily watered down Sunburst Yellow, and apply it on the entire model; there's not much point in it hitting the darker sections, but when it hits the whiter areas, you can see how it's starting to work for us.


Step 10: Repeat Step 8, only even more sparingly with the skull white. If you've got source pictures of NMM, they can help you with this step. ALTERNATIVE: If you're skipping here from step 1, just apply Shining Gold Paint wherever there's Armor, wash it with Brown Ink, and mix a 1:1 Shining Gold/Mithril Silver highlight that you can apply to the upper edges of the armor. It takes a fraction of the time!


Step 11: Okay! All that to get the armor! As a break, we'll do some easier stuff to get all that detail out of your mind. Take some Deneb Stone and apply a thin coat to his tabard and the parchment of the purity seals.


Step 12: Next you want to wash each of those sections that you just painted with Griphonne Sepia. Watch that you don't get it on the armor in a light section; in the dark ones you'll be ok.


Step 13: Next take Astronomicon Grey and apply it to the metal wings on the belt and shoulder. The hair is optional; some people choose to make it blonde, but I decided I wanted to go for the look of a grizzled veteran.


Step 14: A quick splash of Tallarn Flesh to the face for a quick basecoat comes next.


Step 15: Wash that Astronomicon Grey with Badab Black! Regular readers will recognize what we're doing from my Dragon Knight Terminator tutorial.


Step 16: Next, we want to bring some definition to the tabard; Kommando Khaki will set it apart from the parchment on those scrolls, making sure that the Sepia wash still shows through in the recesses.


Step 17: Wash his face with Ogryn Flesh, being careful not to get it in his hair (too much!)


Step 18: There are a few Leather items, pouches and the holster; basecoat them straight Calthan Brown.


Step 19: Wash those leather sections with Devlan Mud, again careful to not get it on the armor.


Step 20: Jumping back up to the face, we're going to put another coat of Tallarn Flesh in place, letting the wash in the recesses show through some more; Tycho has a heavily lined face, so we're going to get a great look when done.


Step 21: Bam! We just jumped about another 5 steps, but that's because we're going to finish Tycho's face completely and I'll be doing a face tutorial later. So, in short, you want to add some skull white and apply it to the portions of his face that would show the light the best, just like the armor. The difference here is that you're going to mix a LITTLE chaos black into it each time, to give his face a slightly haggard look. Mine took another 4 coats. From there, direct Skull White on the eye and a black dot for the pupil, and it's done!


Step 22: Next you're going to mix a 1:1 Fortress Grey / Skull White mix and finish off his hair, making sure to allow the darker grey from underneath shows through on some strands. This is a chance to clean up any oops' that occured when finishing his chiseled mug.


Step 23: Now with some pure Skull White, you want to hit just the tips of Tycho's hair, highlight the edges of the purity seals, and put a coat of white on the wings on the armor (May take two depending on coverage). Again, as always, make sure the dark grey in the recesses still shows through.


Step 24: Ok folks, unfortunately the wait is over; after knocking your brains out over the gold armor, I've given you as much of a break as I can. Now it's time to start the Non Metallic Metal on the gun. Hit it with Codex Grey wherever you want it to be metal. (Alternately, skim the next few steps, but apply Boltgun Metal to the same locations, wash with black, and highlight with Chainmail.)


Step 25: Next, you want to start applying Skull White to the Codex Grey; draw an invisible line where that lightsource is coming from, and start lightening it towards the top of the metal surfaces until you're nearly to pure white. I did it in 5 steps; this is slightly different from the armor, since we were going for an actually shiny look there; here we want more a dull colour.


Step 26: Now from that invisible line, you want to go down, applying Chaos Black to the grey until it's nearly the colour of Adeptus Battlegrey. This marks the end of the NMM that you have to do on Tycho; we'll cheat a little when it comes time to do the studs ;)


Step 27: Now from here we do the rear shoulder pad, blood drops and the gun; Mix a 1:1 of Mechrite Red and Scab Red, and apply it straight onto the surfaces. Right about now you can feel my pain at having to paint that shoulder pad!


Step 28: Next mix 1:1 Scab Red and Chaos Black, water it down a bit and apply it sparingly to the outer edges of the shoulder pad, and the recesses on the Combi Bolter.


Step 29: Mix a 1:1 of Mechrite Red and Blood Red, and now you want to lightly apply it to those upper areas on the gun casing, and the central section of the shoulder pad, as well as all over the blood drops. You can drybrush the shoulderpad here, but don't do it for the gun.


Step 30: Now mix 1:1 Blood Red and Fiery Orange, and highlight the upper edges of the gun and drops. Also, you can apply a VERY light drybrush to the top of the shoulder pad here.


Step 31: Take Skull White again and apply a couple dots to the uppermost portion of the shoulderpad, and the TOP edges of that combi bolter and blood drops. Be very sparing here; this is to just give a slightly sparkling effect.


Step 32: Ok, enough highlighting and shading for a moment; take Chaos Black straight out of the pot, and paint the trim on the Shoulder pads. I've also taken the opportunity to do my detailing on the tabard and add black scrawling script on his purity seals.


Step 33: Next we're going to quickly paint the wax on those purity seals. Base them with Scab Red, and then hit the raised edges of them with Blood Red. There are dozens of colours you could put on them; some people even paint them purple, so do what seems most comfortable to you. If you're doing the red though, this is also the perfect time to paint the eye inside the halfmask on Tycho's face.


Step 34: Apologies for the blurry picture, my camera acts up from time to time. However, you can see that you need to apply some Graveyard Earth to the edges of all the leather pouches on the model.


Step 35: Next, you want to use hard edging to highlight the extreme edges of the shoulder pad trim with Adeptus Battlegrey...


Step 36: ... and follow up on the corners where the light would be brightest with codex grey!


Step 37: And now we cheat! See all those studs and screws? Rather than paint each one painstakingly with NMM and get very little results, just take some Mithrill Silver straight out of the pot and presto!


Step 38: Now we're on a cleanup stage; any little details you've missed should be painted now. I used the previous techniques on the winged skull on that combi bolter to get it done, and picked out a few wires with straight blood red.


Step 39: Next we want to take some Tin Bitz and drybrush it liberally all over the end of that combi melta (Covering some of that beautiful NMM, oh no!). If you want a Combi-Melta that's never been fired, you can skip this step. Next put some chaos black down the barrel (drybrushing again),


Step 40: Now we come to the gems; I chose to go the same colour as the ones in that white dwarf, but you could paint them whatever colours you choose... the principles stay the same. First, basecoat the gems in your darkest colour (Regal Blue for me).


Step 41: Next add intermediate colours on the side facing away from the light; I used Hawk Turquoise and an even smaller sliver of Ice Blue. Then take some skull white and put a dot of it on the side closest to the light. And Tycho himself is done!


Step 42: Now if you've followed my tutorial through to the letter, you have a great looking Tycho, minus a backpack; it's up to you how you want to handle this. There're the old 3rd edition backpacks that are meant for regular hugger marines from that era, the Sergeant backapacks with banner poles for those who want to do some freehand, or the metal Captain pack with the cape that I chose to use.


Some advice, however; if you use the metal pack, you want to cut the nub off Tycho's back before painting with some clippers. The metal pack won't fit right if you don't, and will look strange when you glue it in place. The principles for painting the pack are the same; gold like the armor (Which I think turned out better than the armor itself), steel for the vent sections, and I used the same technique for the cape that we used on the combi bolter and shoulderpad. I also suggest hand-painting the Blood Angels symbol, if you can, to avoid having to muck around putting a decal where on when that script is on that pad.


Once the backpack is done, all that remains is to base him! I chose a desert scheme, with the severed ork head to represent his hatred of Orks, and the Weirdboy that caused his hideous rictus that made him require that face mask.

Total time to paint was about 30 hours, but I'm really pleased with the result.

I hope everyone found this informative, and if you have thoughts on Non Metallic Metals, or any of the techniques I used, please feel free to share!

Wednesday, September 22, 2010

Product Review - Malifaux Death Marshals!


Hello again!

So this week we're going to be diving into a brand new product I picked up about a month ago and built nearly on the spot; the Malifaux starter set for the Guild, known as the "Death Marshals". Now, this isn't going to be a formal review like those that I post for tutorials, but more a journey through my experience building the set, and my first impressions of the models themselves. I'll be painting them at a later date, so I'll write a separate article for that.

So lets take a look at what we get inside:

The set comes with 5 models; Lady Justice, the official head of the Death Marshals (And a behemoth in game, with 12 wounds!), a nameless "Judge", who is a great second unit to the set, nearly as tough as his mistress, and 3 unique "Death Marshals". So on first impressions, I rate this as a very "Hero-centric" set, playing up how amazing Lady Justice (Here-on Lady J.) is, since you get three nameless characters. This contrasts very differently from the Ortega band that my friend Mike bought, where each character is a unique and strong personality in his own right.


So inside the box, I was impressed that everything came in its own little bag, and the economy of packing was impressive compared to some of Games Workshop's 5 model sets that take up a box 3X its size. Each model had a fair bit of release agent on it, however, so I had to give them each a quick rinse before I dove in.


So, instead of starting with the grunts and working my way up to the hero (Like usual for me), I decided I wanted to build Lady J first.

*Stick*

Well there you have it; she's a beautiful model, and all one piece. All it took was some glue on the base, and she was done.


Next up came the Judge, a grand total of two pieces, but that chain on the improvised 'gunblade' was a pain in the butt to deal with. It was right about now that I started to realize just how pliable the metal used in Malifaux Miniatures really is. His blade was completely bent over to touch the hilt, fresh out of the package, but since it was so pliable I was able to bend it back easily.


Of all the Death Marshals, this guy is my favourite, visually; as you can see on the picture, those wisps of ethereal... whatever... will look amazing once painted. He's two pieces, but that arm didn't want to go on for love, nor money. Ergo, I had to grab some Green Stuff (Which my friend Pete declared 'cheating!' when he saw it), to cement the arm in place.


Death Marshal Number 2 has proved to be my biggest surprise hit in my games so far, leaping a fence one handed, and gunning down the Demonic Double of Viktoria with a single shot. He also marks the model with the most pieces, clocking in at 4 metal pieces, plus somewhat needing a bit of creative basing to look right. Ironically enough, his HAT was a separate piece, and also was the only one to go together without Green Stuffing. Love the pose!


Lastly, comes DM #3, perched on his coffin somewhat like a hawk; this piece went together nice and easily, again only needing green stuff to the arm to keep it stable. I was again struck by the quality of these models; the coffins themselves are incredibly chunky, and make the otherwise somewhat flimsy characters feel like they could take a bit of a knock.


Total Assembly time: 1 hour
Metal Flashing: Minimal
Conversion Required: Minimal
Overall Quality of Figures: Stunning


In finishing, this is a very good product; it was very different from working on GW models, which require extensive assembly for each person on the field, and require you to drop 2-3 hundred bucks to have a viable force. With one box of Malifaux, you can play a small game that lasts an hour.

For veteran modellers, however, if you don't like the look of the models and want to convert them, you don't have many options; Lady J. was a single chunky piece, and I don't think it would have been possible to convert her beyond adding some bling to her. Studio Mcvey has a few models on roughly the same scale that are worth checking out; I may be purchasing their Isabella for an alternative Lady Justice at some point; they both are wonderful models, but I'd like some variety from time to time.

All in all, however, I give this set a 4.5/5, with my only real complaint being that the arms on a lot of the models wouldn't fit with only super glue. Other than that though, for the price I paid (29.95 from Hoard o Bitz on Ebay, shipping included), this is an amazing set that's well worth the buy. I would suggest, if you buy it, to look into the Scales of Justice from Wyrd as your first expansion. It's Lady Justice's Totem, and it works very well with this force.

That's all for me... I'm out!